10 Easy DIY Nail Art Ideas You Can Try at Home
10 Easy DIY Nail Art Ideas You Can Try at Home
A fresh mani doesn’t have to mean a trip to the salon. With a few basic tools, a steady hand, and some creativity, you can make professional-looking nail art at home. If you’re looking for inspiration beyond these ideas, check out this collection of nail inspiration and trends to spark your next design.
Below are ten simple, budget-friendly nail art ideas with supplies, step-by-step tips, and variations you can try right away.
1. Classic Polka Dots
Supplies: base color, contrasting polish, dotting tool (or a bobby pin/toothpick), top coat.
Steps: Paint two thin coats of the base color and let dry. Dip your dotting tool into the contrast polish and add evenly spaced dots. Seal with top coat.
Tip: Use different-sized dots for a playful look, or try a negative-space base (no polish) for a modern twist.
2. Minimalist Negative Space
Supplies: sheer or nude polish, striping tape, clear top coat.
Steps: Apply a sheer base. Place striping tape in geometric shapes, paint over it with a contrasting color, then remove tape while polish is tacky. Finish with a top coat.
Tip: Use moons, diagonal tips, or simple squares for a chic, low-effort result.
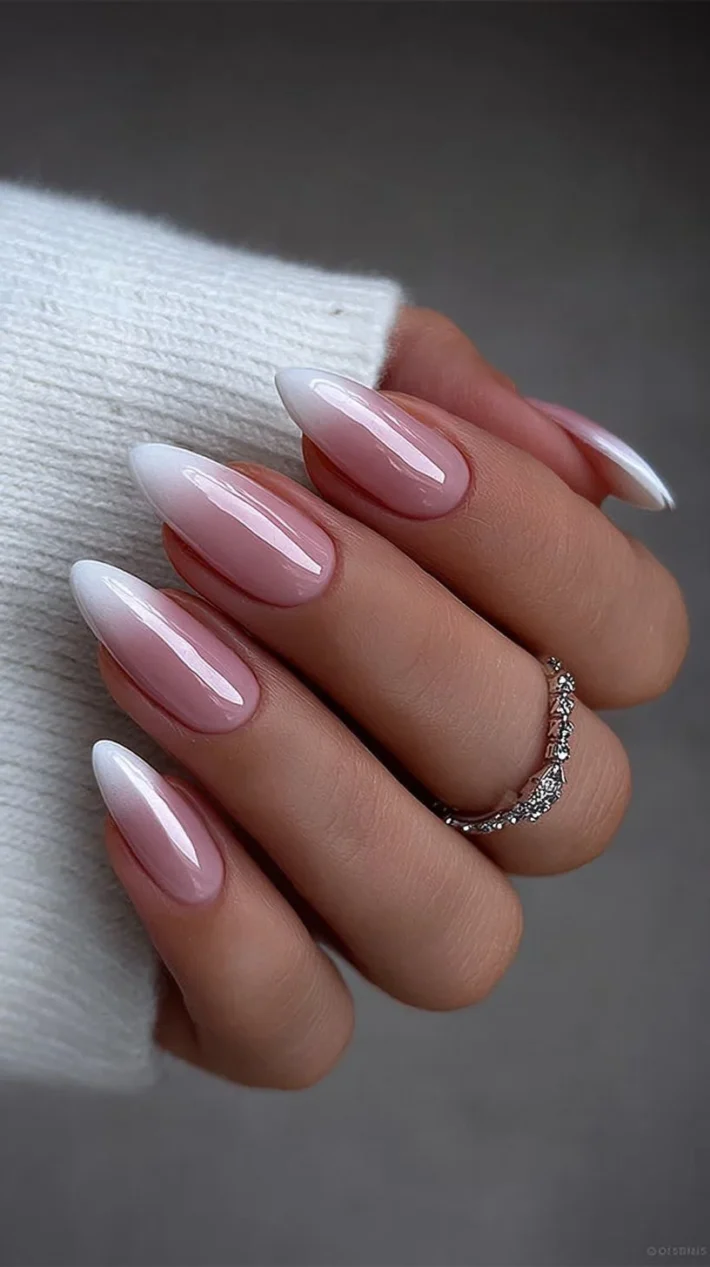
3. Easy Gradient Ombre
Supplies: two or three complementary polishes, makeup sponge, liquid latex or tape for clean-up.
Steps: Paint a sponge with stripes of your chosen colors, dab onto the nail until blended, and clean edges. Finish with top coat to smooth texture.
Variation: Try subtle pastels or bold neons for different seasons. For more edgy inspirations, browse these bold Latina nail ideas for 2025 that mix color and pattern.
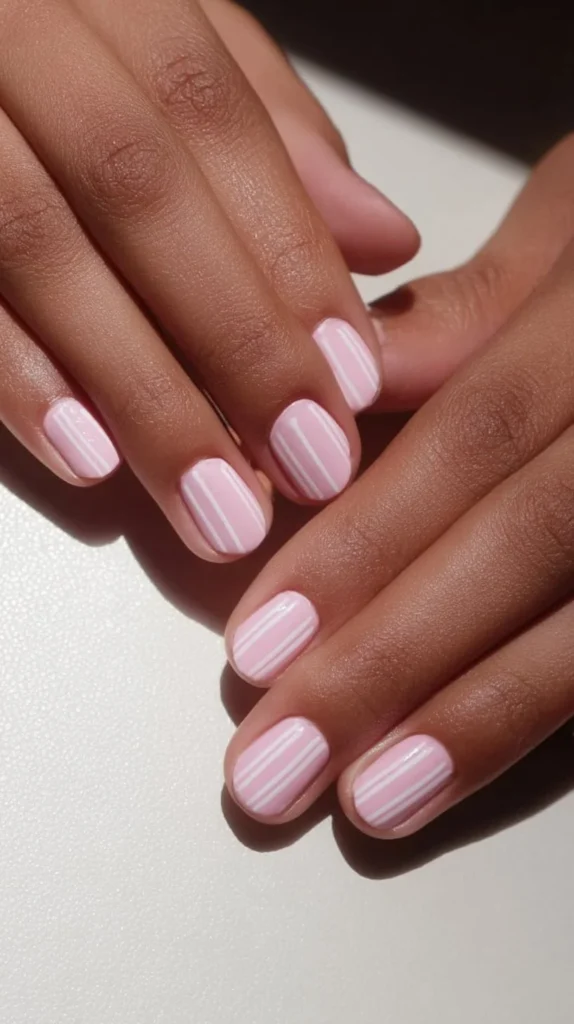
4. Quick Stripe Designs
Supplies: striping brush or thin nail art brush, base color, accent color.
Steps: Paint a solid base, then add vertical, horizontal, or chevron stripes with the striping brush. Top with a high-gloss finish.
Tip: Metallic or white stripes over a dark base look striking.
5. Glitter Accent Nails
Supplies: glitter polish or loose glitter, base and top coats.
Steps: Paint all nails a base color, then dab glitter on one or two accent nails while polish is tacky. Seal generously with top coat.
Tip: Use a sponge to deposit denser glitter with less polish buildup.
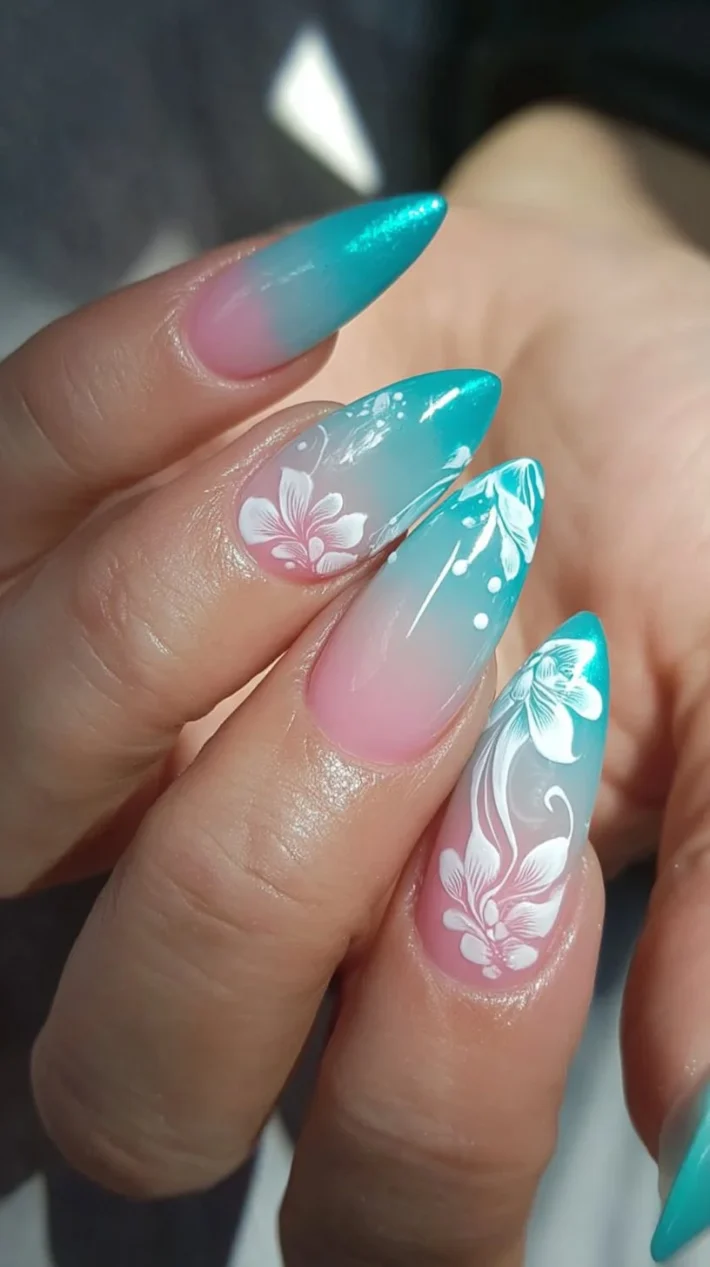
6. Floral Doodles
Supplies: dotting tool and thin brush, multiple polish colors.
Steps: Create tiny petal shapes with dots and connect them with a tiny brush for stems. Add a contrasting center for each flower and finish with top coat.
If you want to mix seasonal trends into your mani ideas, check out current nail art trends to pair florals with modern color palettes.
7. Marbled Manicure (Waterless)
Supplies: two or three polish colors, a small piece of cling film or plastic wrap.
Steps: Paint a base color and let dry. On a palette, drop small blobs of accent colors, scrunch the cling film over them, then press onto the nail for a marbled effect. Seal with top coat.
Tip: Use glossy top coat to make the marble pop.
8. Tiny Gems and Studs
Supplies: rhinestones/studs, tweezers, clear top coat or nail glue.
Steps: After polish is tacky, place gems with tweezers where you want them. Press gently and lock in with a strong top coat or top coat plus a dab of nail glue.
Variation: Accent just the cuticle or the tips for understated sparkle.
9. Two-Tone French
Supplies: two coordinating polishes, fine brush or sticker guide, top coat.
Steps: Instead of the classic white tip, paint a contrasting color on the tip and finish with a thin line or small negative-space detail. Try combining it with matching hair or makeup for a cohesive look. For ideas on coordinating color pairings, explore these creative hair color ideas that often inspire matching nail palettes.
10. Hand-Painted Minimal Art
Supplies: thin art brush, multiple polishes or acrylic paint, top coat.
Steps: With a steady hand, paint tiny shapes—lines, hearts, stars—over a neutral or soft base. Keep motifs small for a polished, high-end vibe.
Tip: Practice designs on a plastic surface or a nail wheel before trying them on your nails.
Quick maintenance tips:
- Always finish with a quality top coat to extend wear.
- Allow enough drying time between layers to avoid smudging.
- For long-lasting results, prep nails by pushing back cuticles and buffing lightly before polishing.
Conclusion
If you enjoyed these simple at-home ideas, you can find even more designs in the roundup of easy nail designs for beginners. For step-by-step trend tutorials you can try this season, see the guide on 10 nail trends to try at home. If you want a playful, quick mani tutorial, check out the Super Easy Wink Wink Mani DIY for a charming beginner project.
Enjoy experimenting, and remember that practice and patience are the real secrets to salon-worthy nails at home.